When you’re introducing animals and their young, show real pictures or ask about pets they have at home. Get them looking closely. Get them asking questions. That’s exactly what we want—curiosity firing on all cylinders.
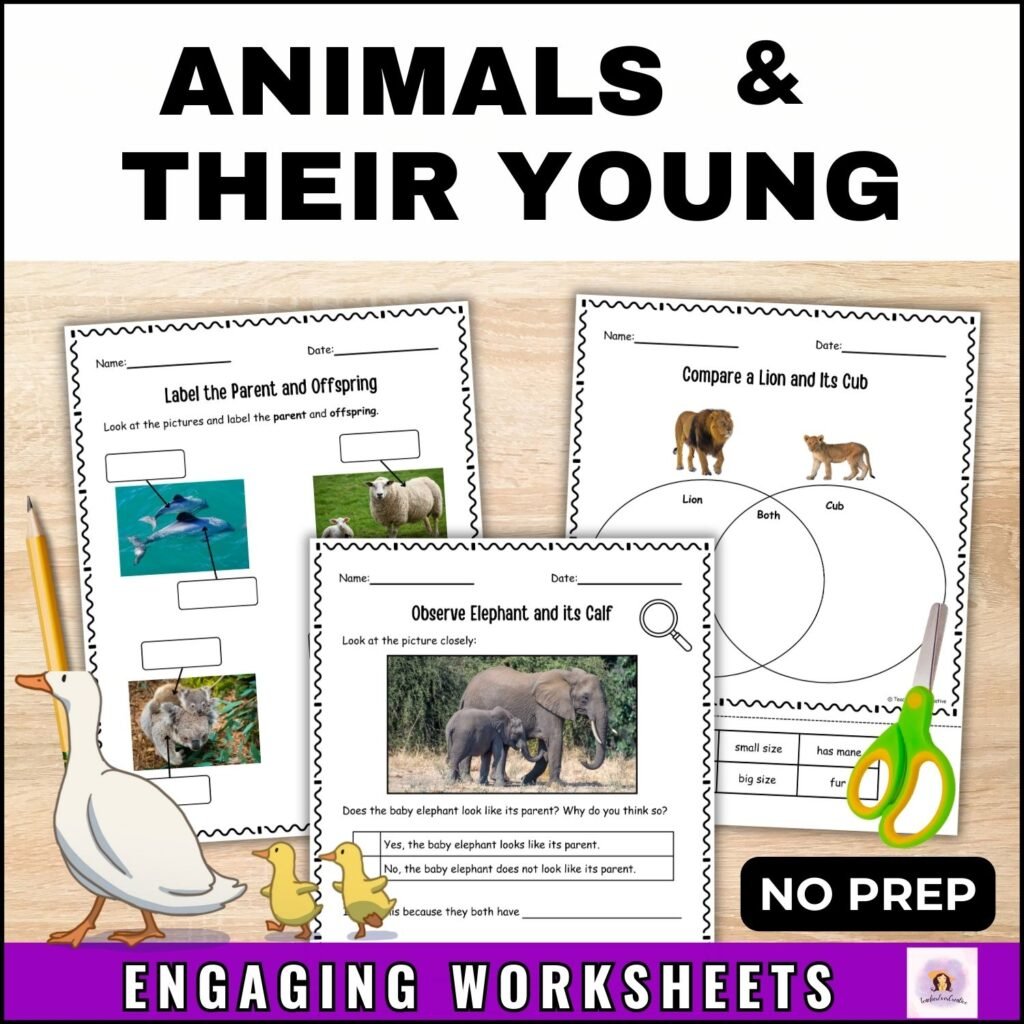
If you’re looking for a way to make this topic easy, hands-on, and something they’ll actually remember, you’re going to love using animals and their young worksheets in your classroom.
Let’s dive into a few ways to get students excited (without giving up your Sunday night to prep).
Inquiry Questions to Get Students Thinking
Start the lesson with a few simple, open-ended questions:
- Do all baby animals look like their parents?
- Why do you think some babies look so different from adults?
- Have you noticed that some animals look a lot like their parents? Why do you think that is?
Give students a minute to turn and talk. You’ll hear everything from “because they grow up” to “magic!” (That was a real answer from my class once.) Let them wonder… that’s where the best discussions begin.
How to Use Animals and Their Young Worksheets
Now for the fun part. The activities in this resource aren’t just busywork, they actually help students think more deeply while staying hands-on.
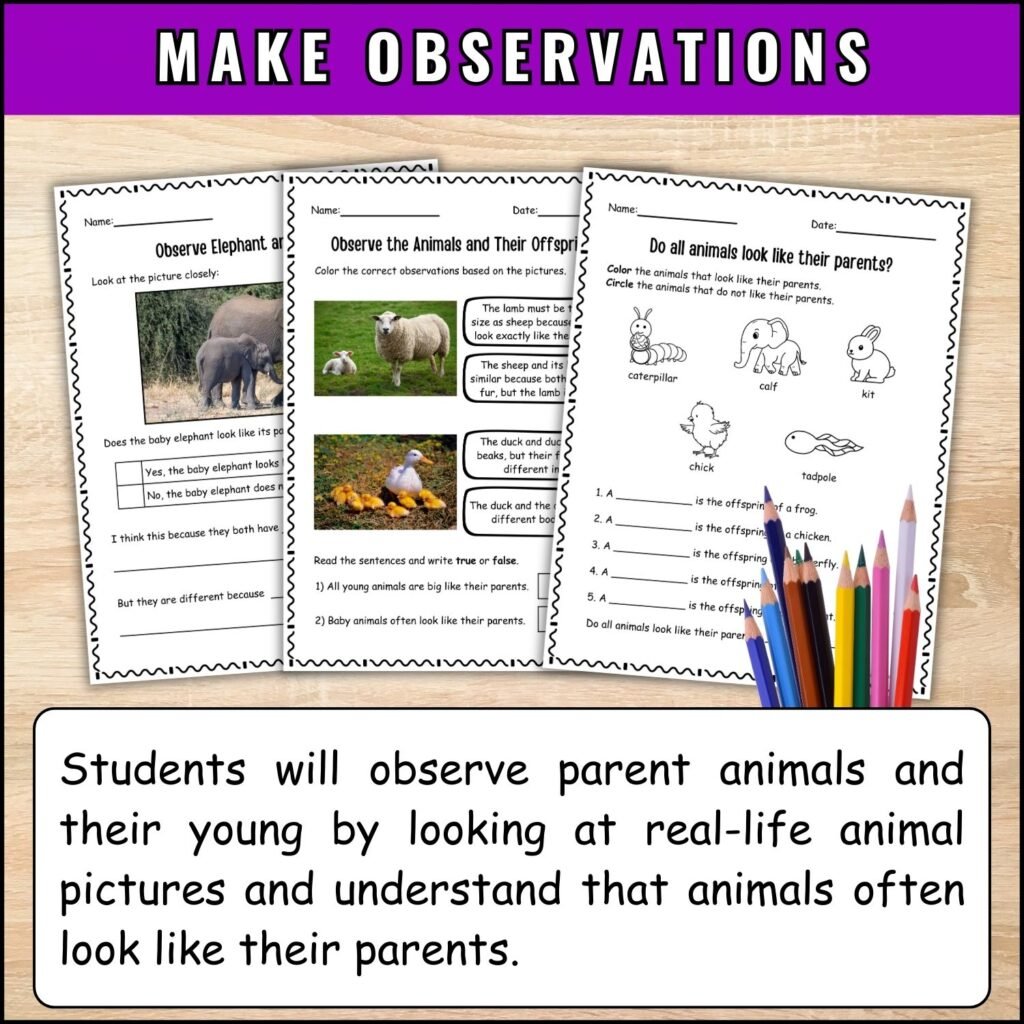
Activity 1: Make Observations
Start by showing students real-life photos of animal parents and their babies. Ask them to look closely and talk about what they notice. “What looks the same? What’s different?” You’ll be amazed at the details they spot—fur patterns, color, even body size. This kind of observation builds early science thinking and gets kids excited to share.
Once they’ve shared their ideas, they can record their observations by writing or drawing in the worksheets.
Some might write or draw how a duckling looks like its mother; others might point out how a calf is smaller but has the same coloring as the cow.
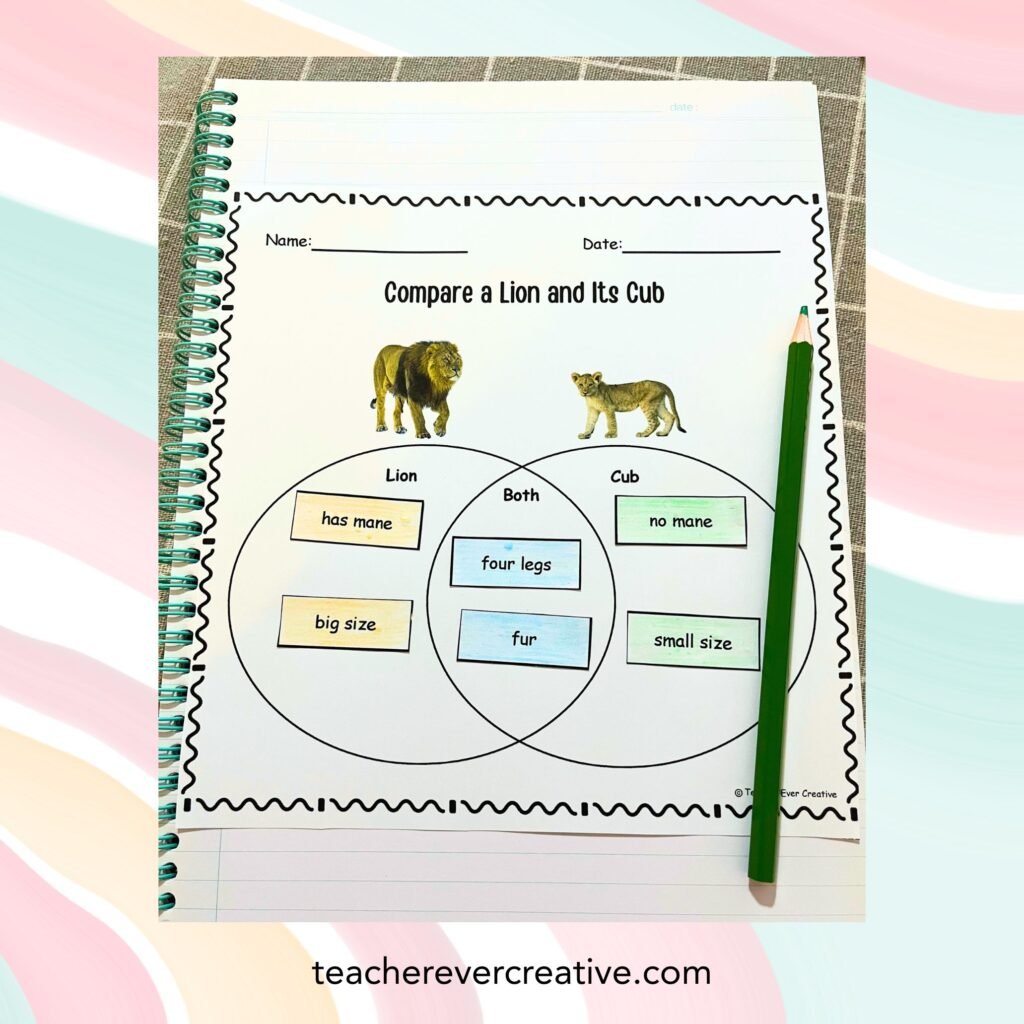
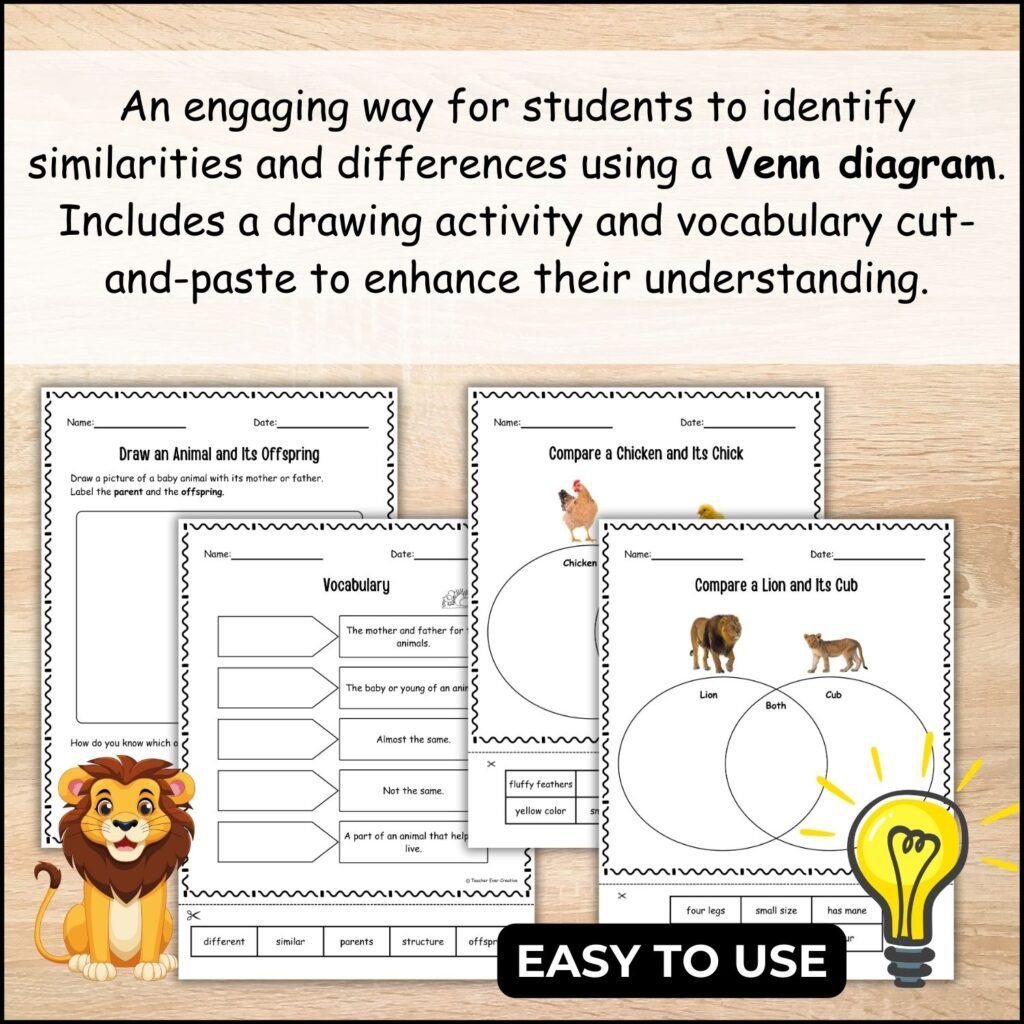
Activity 2: Venn Diagram Sorting
Grab the real-life pictures and ask students to study a parent animal and its young.
“How are they alike? How are they different?”
Students cut and paste into a Venn diagram. A Venn diagram gives kids a clear way to see what’s the same and what’s different.
Instead of just identifying the structures, students need to decide where each structure belongs: parent only, baby only, or both. That kind of sorting definitely takes real thought.
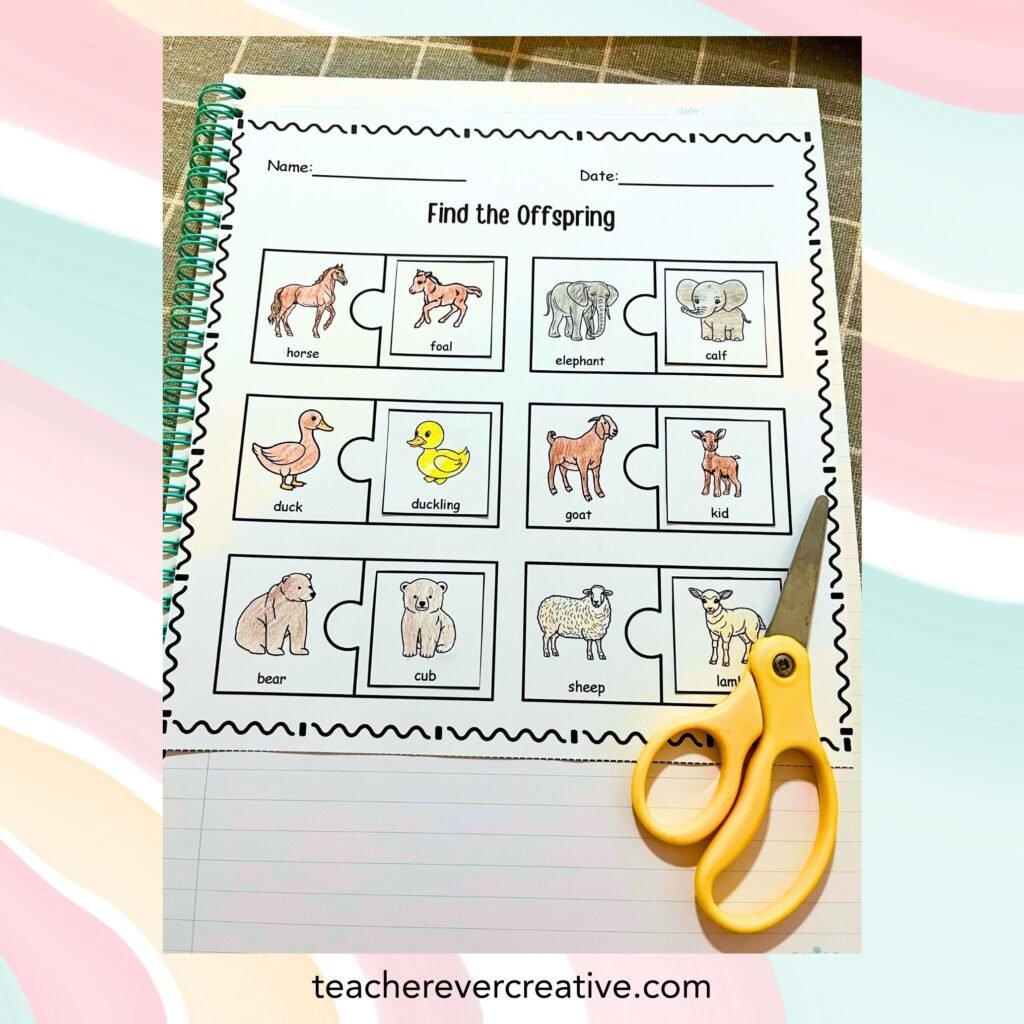
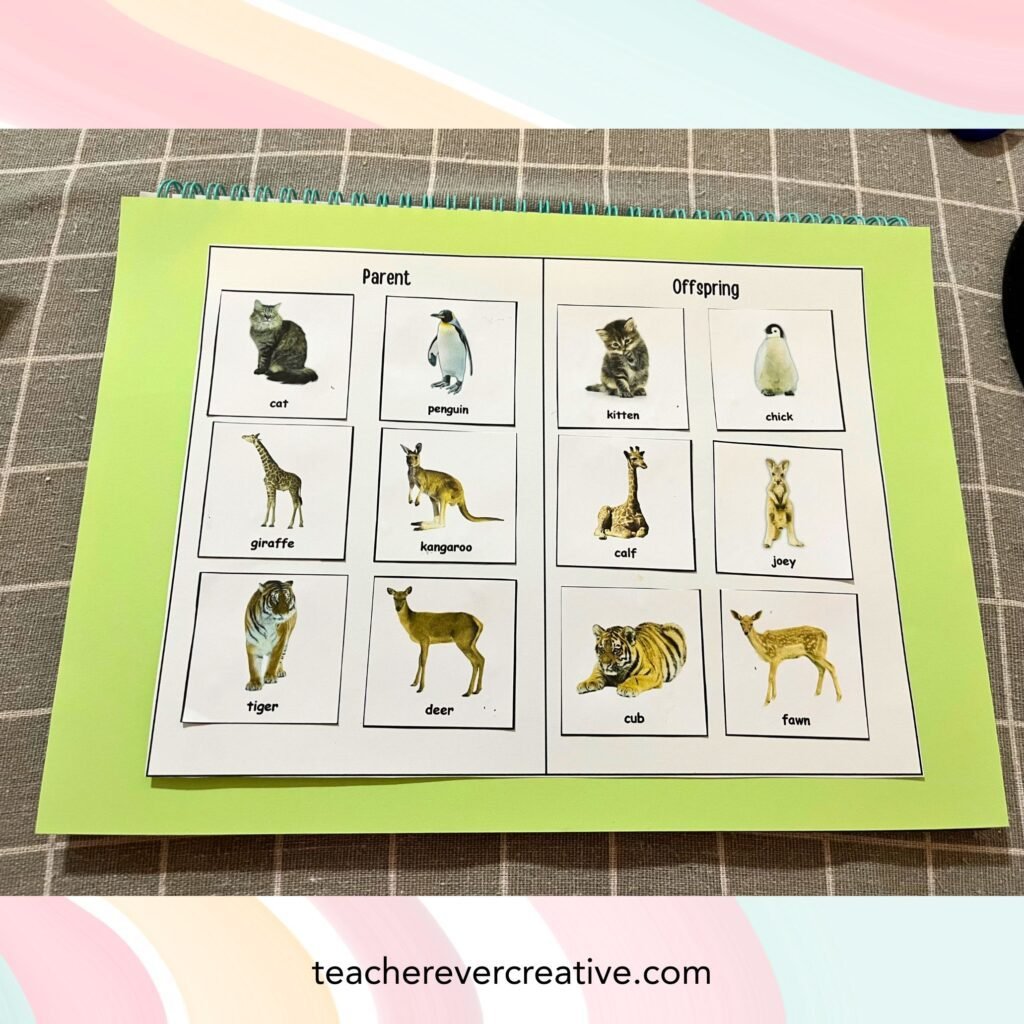
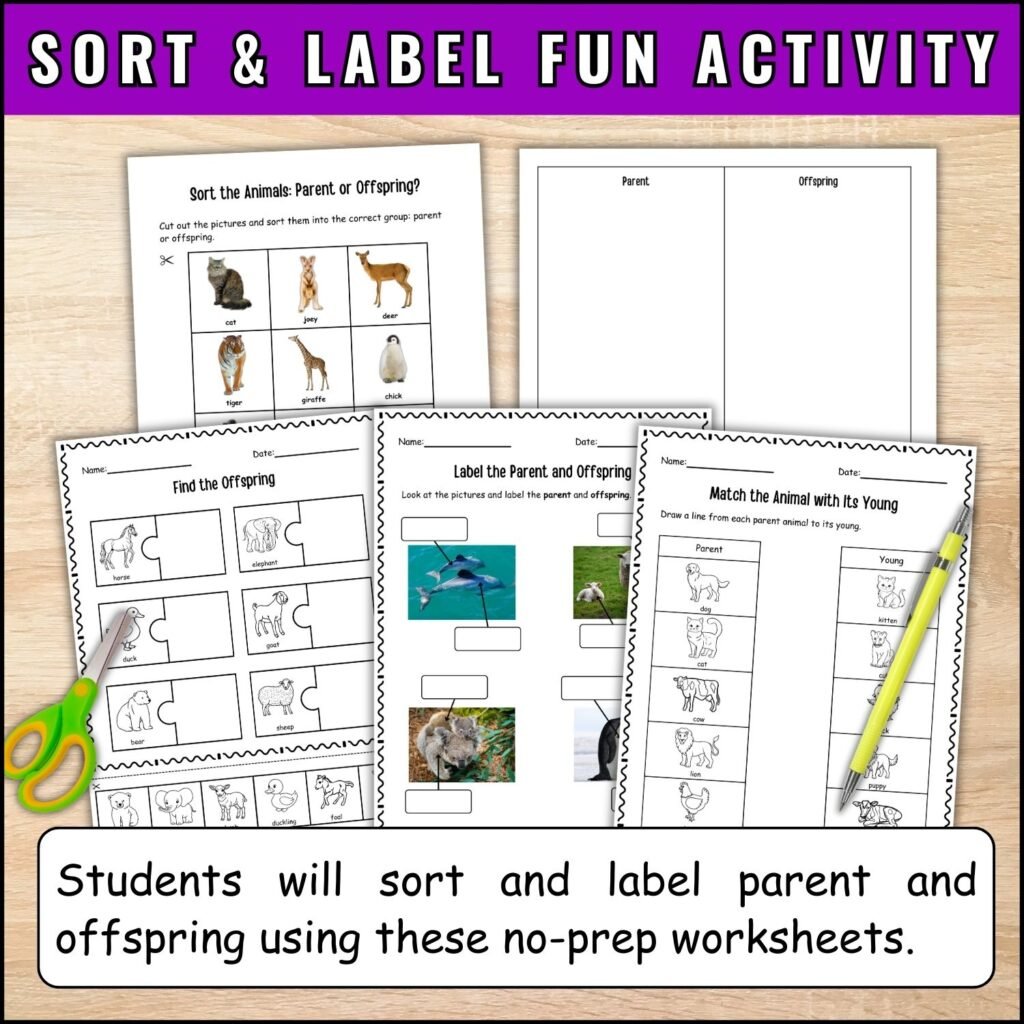
Activity 3: Picture Sorting Game
Students sort 12 real-life animal-parent pairs into a graphic organizer. It’s all cut-and-paste, super visual, and perfect for early finishers or centers.
Other Options:
•Matching animals to their young (great for independent work)
•Labeling pages to build science vocab
Everything’s no-prep. Just print and go. I don’t know about you, but my to-do list is long enough without extra laminating.
Why Teachers Keep Coming Back to These Animals and Their Young Worksheets
Well… let’s be honest—some weeks, you just need something that works. Something effective, but super easy to prep. That’s where this resource comes in.
- Zero prep. Just print and go.
- Flexible enough for whole-class lessons, small groups, or independent work.
- A great supplementary resource—perfect for reinforcing lessons you’ve already taught.
- Works well in interactive notebooks. Just print and have students glue in their work.
- Fits with any science curriculum—no need to worry about matching specific standards.
Use it as part of your Animals and Their Young unit, or keep it on hand for those “I need something meaningful but low-effort” days.
If you’re looking to save time and give your students something engaging, check out the animals and their young worksheets in my TPT store. You’ll be glad you’ve got it ready to go.
Learning Objectives
Here’s what your students will learn as they explore animals and their young:
- They’ll observe and describe similarities and differences between young animals and their parents.
- They’ll recognize that offspring look similar to their parents, but not exactly the same.