Teaching plant life cycles is such a fun part of science! Kids love learning how plants grow and change. With simple, hands-on lessons, you can make this topic exciting and easy for your students to understand.
Making Plant Life Cycles Inquiry-Based
Always start with big questions to spark your students’ curiosity..
Ask your students, “What happens when we plant a seed?”
Let them share their ideas before you explain the stages.
Use real seeds for experiments. Try beans or sunflower seeds. Plant them in clear cups so kids can watch the roots and sprouts appear each day.
Have students draw what they see in a journal. Label each stage—seed, sprout, seedling, flower, and fruit. This helps them observe and use key terms when describing their observations.
Hands-On Ways to Teach 5 Plant Life Cycles
Kids learn best when they can touch and do.
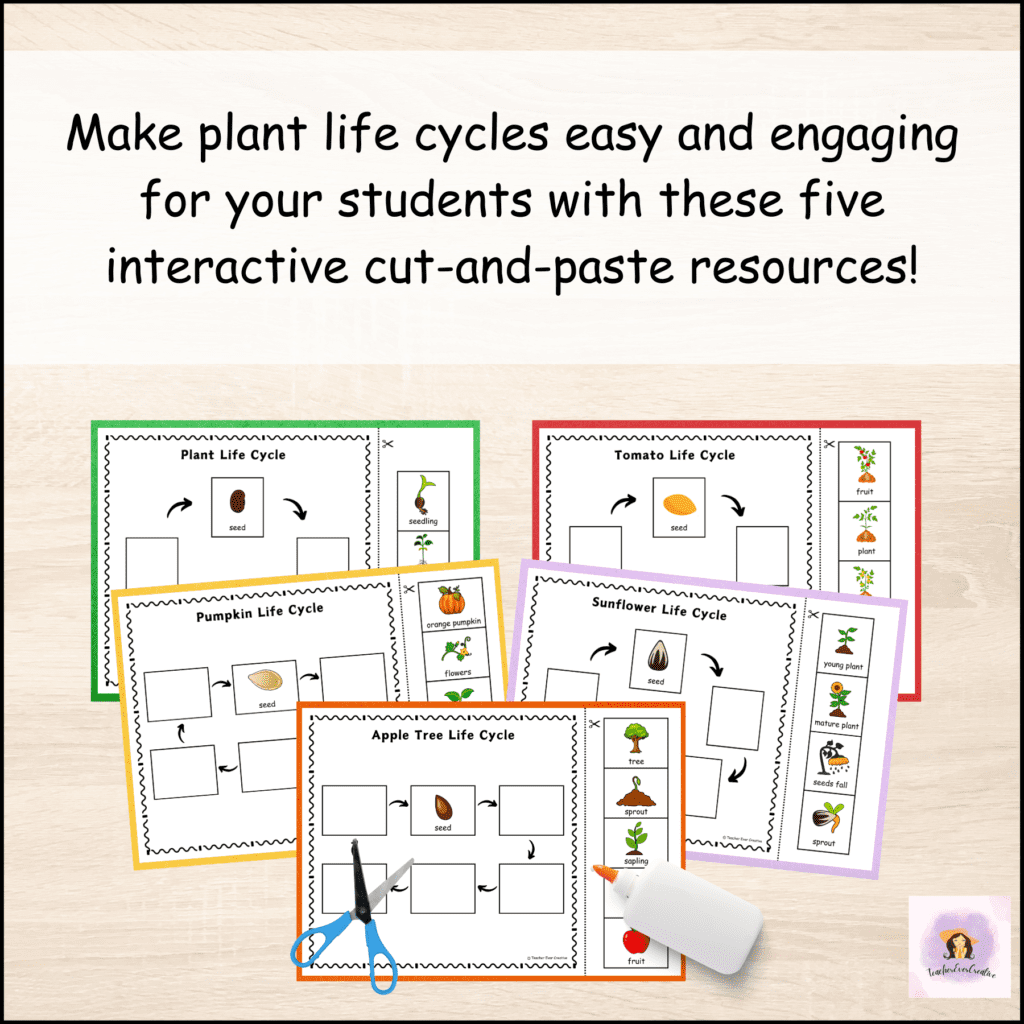
After observing real plants, give them sequencing cards or cut-and-paste sheets. Let them put the stages in order.
Set up five life cycle stations. Use one for each plant—sunflower, tomato, pumpkin, apple tree, and a standard plant.
Students can rotate and complete each one. It’s active and fun!
A No-Prep Way to Reinforce Learning
Need something quick and ready to use?
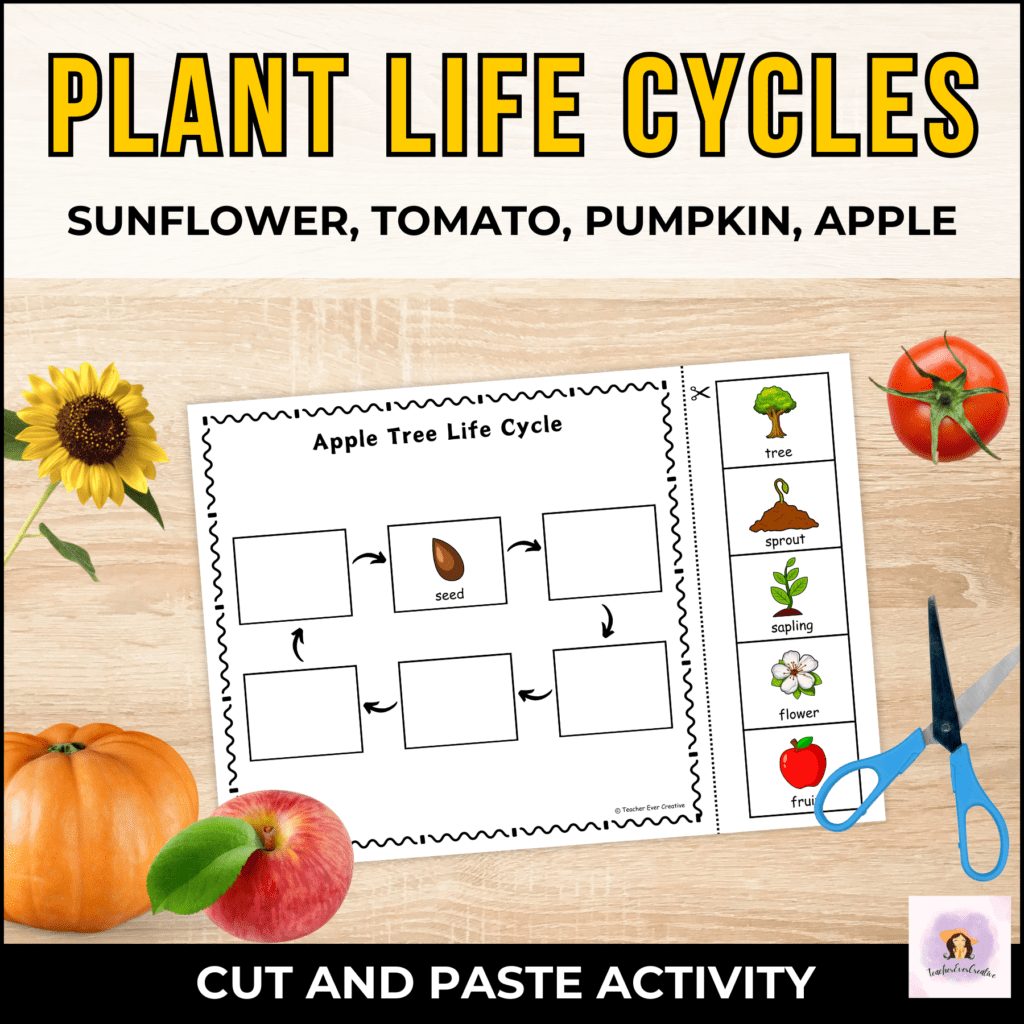
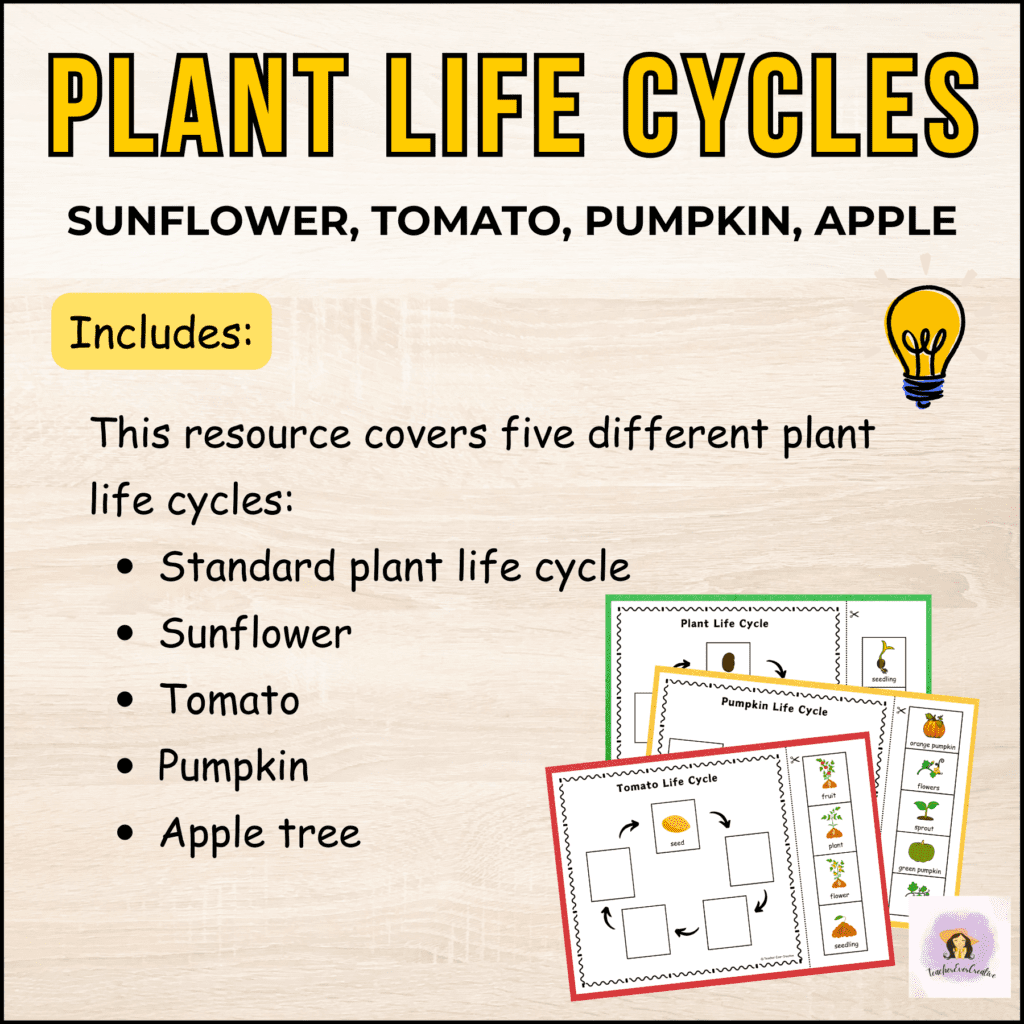
Try Plant Life Cycle Cut and Paste Worksheets for 1st, 2nd, 3rd Grade.
It includes 5 plant life cycles—the standard plant, sunflower, tomato, pumpkin, and apple tree.
Students cut and paste the pictures in order. It’s hands-on and helps them remember each stage.
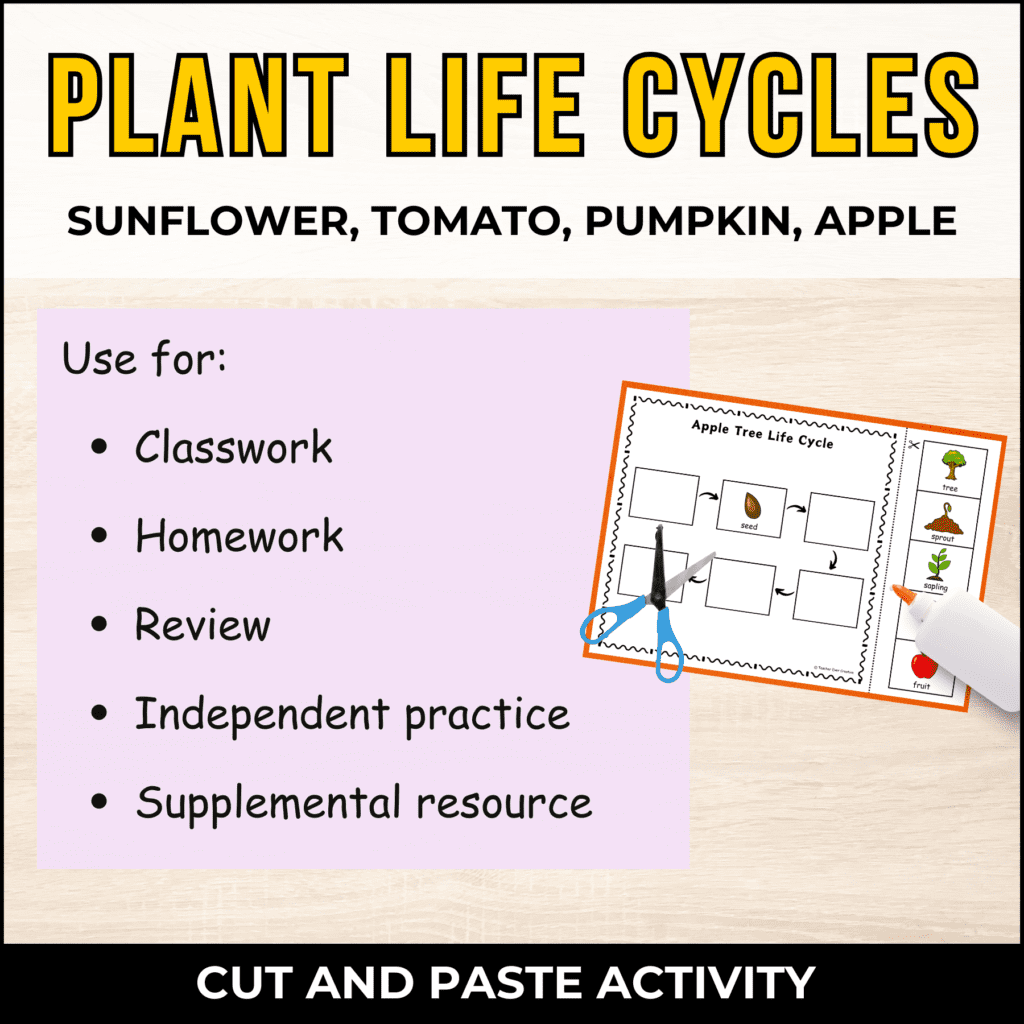
Perfect for classwork, homework, review, or independent work.
Teachers love it because it’s:
No prep—just print and go
Great for multiple grade levels
Reusable every year
Ready to Make Science Simple and Fun?
Bring your plant lessons to life!
Get the Plant Life Cycle Cut and Paste Worksheets for 1st, 2nd, 3rd Grade from my Payhip store today.
Your students will love learning—and you’ll love how easy it is to use.
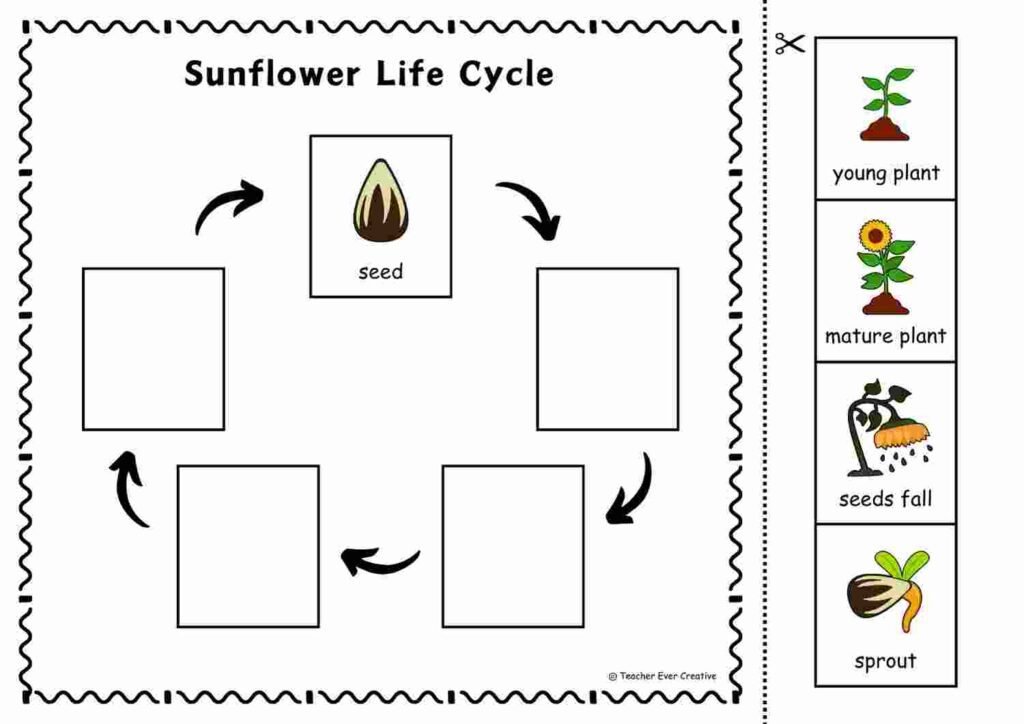
Sunflower Plant Life Cycle
Learning Objective:
Students will be able to explain the life cycle of a sunflower, including its stages from seed to fully grown plant.
Key Points:

- Sunflowers grow from seeds, which need soil, water, and sunlight.
- The stages of the sunflower life cycle include:
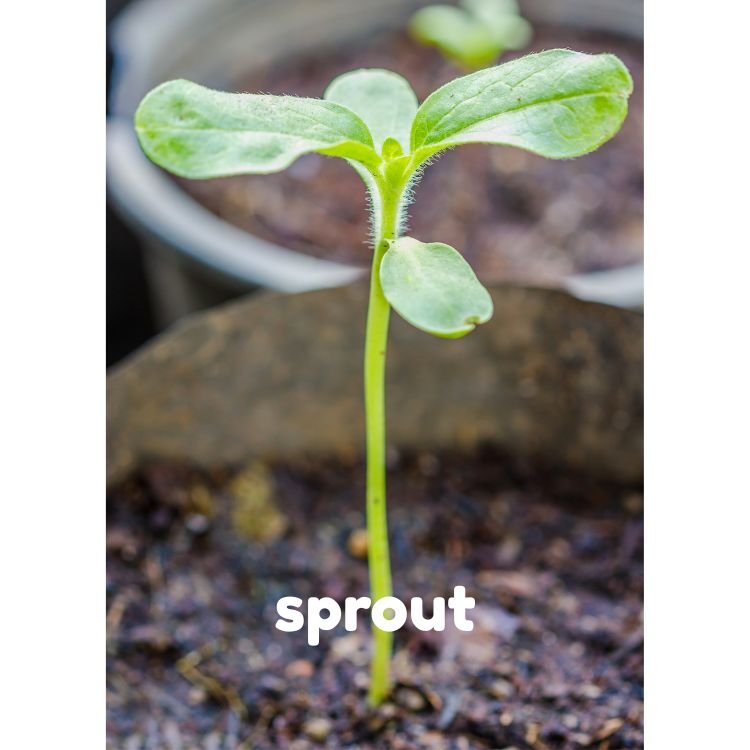
- Seed
- Sprout
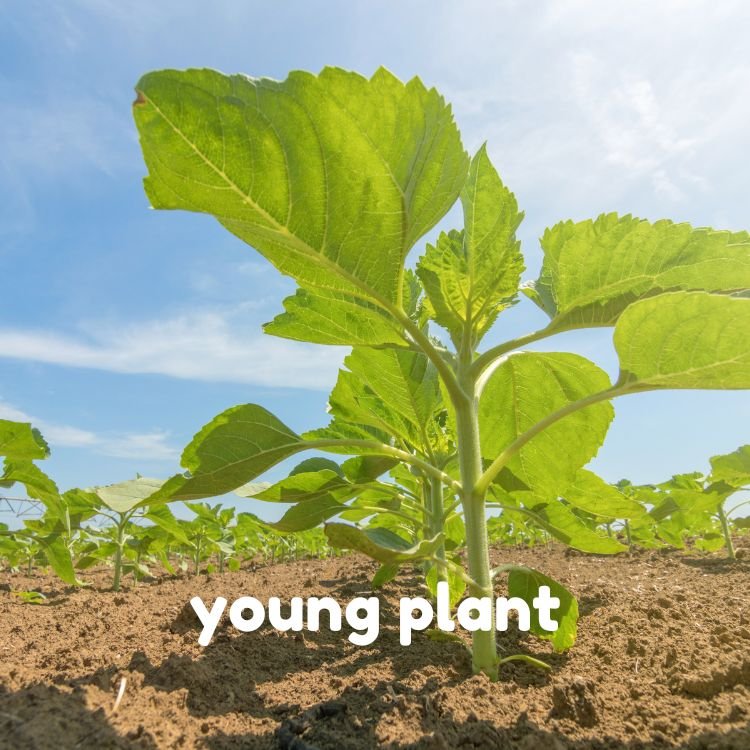
- Mature plant
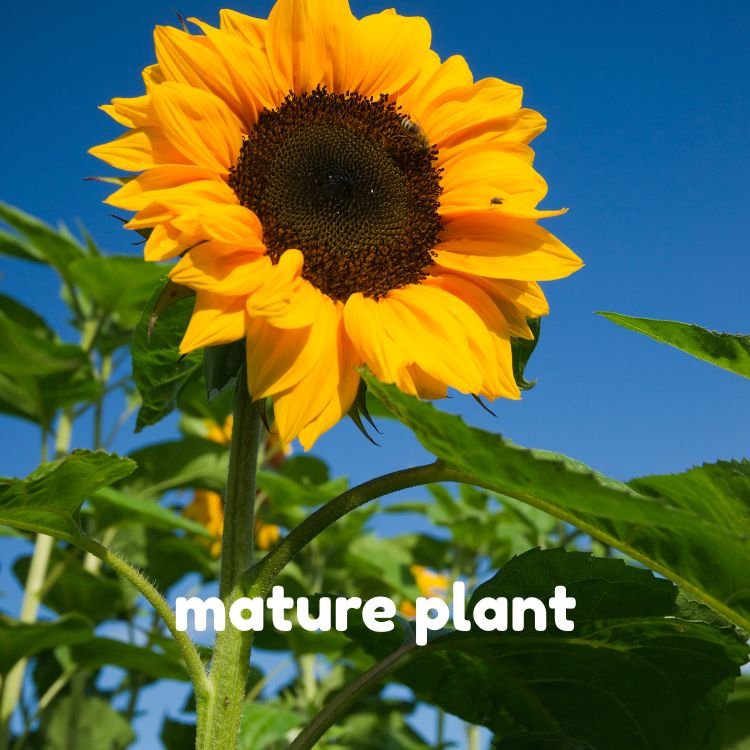
- Flower
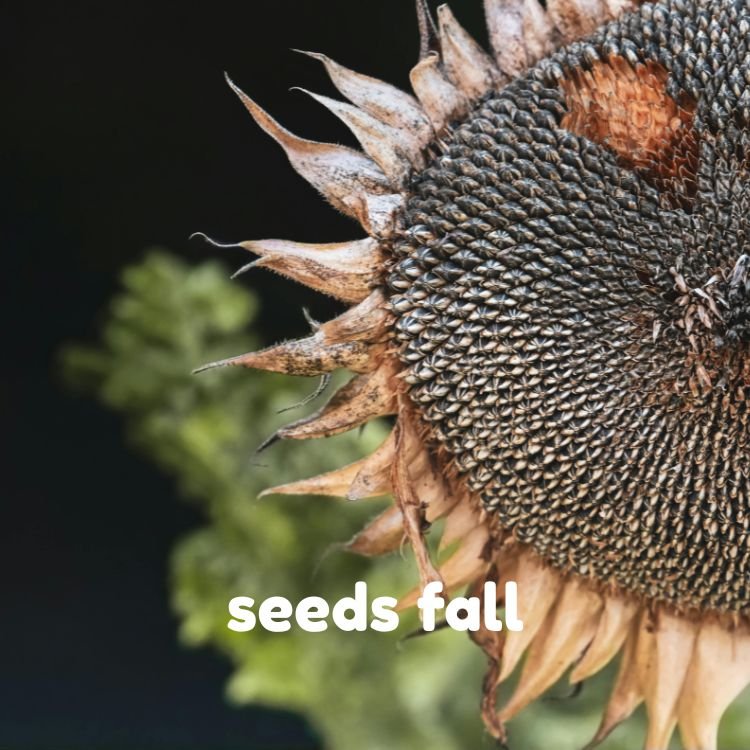
- Seed production
- Pollination is essential for the production of seeds.
Opening:
- Begin with a question: “What do you think a sunflower needs to grow?”
- Show a short video or a series of images of sunflowers in different life stages to engage students.
Introduction:
- Discuss each stage of the sunflower life cycle:
- Start with the seed: Explain what a seed is and what it needs to germinate (soil, water, sunlight).
- Move to the sprout: Describe how the sprout emerges and begins to grow.
- Discuss the mature plant and the flower: Explain how the flower attracts pollinators.
- Conclude with seed production: Explain how sunflowers produce seeds after blooming.
- Misconception to anticipate: Students may think that flowers appear before the plant grows tall.
Guided Practice:
- Provide materials for students to create a simple sunflower diagram.
- Walk students through labeling each stage while asking guiding questions, such as:
- “What do you think happens first?”
- “How does the plant change from a seed to a flower?”
- Monitor student performance by checking their diagrams and clarifying any misconceptions.
Independent Practice:
- Assign students to draw their own sunflower life cycle on a blank sheet of paper, labeling each stage.
- Encourage creativity by allowing them to add colors and additional details.
- Use sunflower life cycle cut and paste activity to reinforce your students’ understanding.
Closing:
- Have students share their diagrams with a partner and explain each stage of the life cycle.
- Recap key points by asking students what they learned about sunflowers.
Categories
Hello!
Hi! Here, you’ll find Science, Math, and Art resources that I love creating and sharing, based on my years of experience teaching various grade levels and abilities. I strive to make high-quality, ready-to-use, and low-prep resources so that fellow teachers can save time when planning lessons.