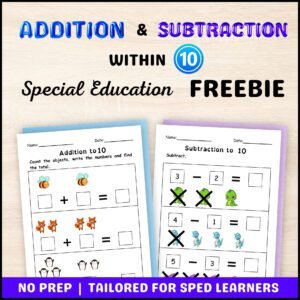
FREE Addition and Subtraction within 10 Worksheets Using Visuals - Special Education
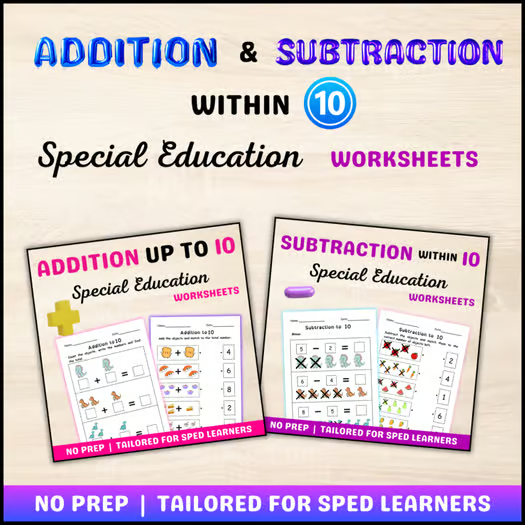
Teaching addition and subtraction to special education students requires more than just numbers on a page. Visual aids can make abstract concepts concrete, helping students build confidence and engage with math in a meaningful way. Today, I’m excited to share FREE addition and subtraction within 10 worksheets designed specifically for students in special education. These worksheets use visuals to make math more accessible, ensuring students can master adding and subtracting numbers within 10. Interested in unlocking the FULL VERSION. Purchase it on my TPT store.
About the Worksheets
To enhance learning, the worksheets are crafted to be visually engaging while remaining simple for students to follow. Each worksheet uses pictures, number lines, and counters to help students solve addition and subtraction problems. The large, clear font and spacious layout allow students to work at their own pace without feeling overwhelmed.
You’ll notice that the problems gradually increase in difficulty, helping students build confidence as they progress. You can easily print these worksheets and integrate them into daily lessons, math centers, or as homework assignments.
How to Use These Worksheets in the Classroom
Next, these worksheets are perfect for individual or small-group instruction. They can be used as:
- Morning work to get students settled.
- Practice during math centers.
- Homework for additional practice at home.
- One-on-one intervention to reinforce math skills.
Feel free to adapt them to your classroom’s unique needs. These worksheets are flexible and can be modified to fit any learning pace or style.
Why Visuals are Important in Math Instruction
Visuals powerfully help special education students turn math concepts into tangible ideas. For children who learn best through seeing or doing, adding a layer of visual support makes all the difference. Visual aids like counters, number lines, or pictorial representations of objects help students understand and solve math problems more easily.
In these worksheets, we incorporate clear and simple visuals that represent each addition and subtraction problem, allowing students to see the math in action. These visual tools not only boost comprehension but also increase engagement and reduce frustration when solving problems.
Lesson Plans Using the Worksheets
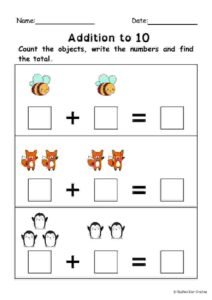
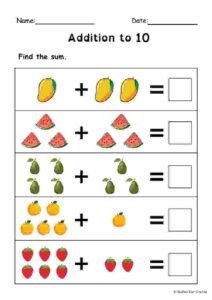
Addition with Objects and Visuals: Teaching Strategies
•Objective: Students will use visuals and objects to understand and solve addition problems within 10.
•Materials: Addition worksheets, manipulatives (e.g., counters, toy animals, buttons), number lines, building blocks.
•Procedure:
- Physically Adding Objects: Begin by showing students two groups of objects (e.g., 3 toy animals and 2 toy animals). Ask students to combine the two groups and count how many animals there are altogether. Explain that addition means “putting together” to find the total.
- Building with Blocks: Use building blocks (e.g., LEGO, cubes) to visually demonstrate addition. Start with 4 blocks and ask students to add 3 more blocks. Have students count the total number of blocks after adding.
- Using Fingers for Addition: Teach students to use their fingers to solve addition problems. For example, start with 5 fingers on one hand, then raise 3 more fingers on the other hand. Ask students to count all their fingers together to find the total (5 + 3 = 8).
- Number Line Hopping Forward: Introduce a number line and show how to “hop forward” to solve addition problems. For example, start at 4 on the number line and hop forward 3 spaces to land on 7. This helps students visualize how numbers increase when they are added.
- Story Problems with Objects: Create simple addition story problems where students act out the scenarios. For example, “You have 3 apples, and I give you 2 more. How many apples do you have now?” Encourage students to use real objects or pictures to represent the apples and solve the problem.
•Assessment: Observe students as they use objects to solve addition problems. Review their worksheet answers to ensure they understand the concept of combining two groups to find the total.
Teaching Subtraction Through Visuals and Objects
•Objective: Students will use visuals to solve subtraction problems within 10.
•Materials: Subtraction worksheets, manipulatives (e.g., counters, toys, coins), number lines.
•Procedure:
- Physically Removing Objects: Introduce subtraction by taking away objects from a group. For example, start with 5 toy cars, then remove 2 cars, and ask the students how many are left. This hands-on approach helps students understand that subtraction means “taking away” from a group.
- Crossing Out Pictures: Use worksheets where students can physically cross out pictures to represent subtraction. For example, if there are 7 apples drawn on the page, have students cross out 3 apples and count how many remain.
- Using Fingers: Teach students to use their fingers for subtraction. Start with all 10 fingers up, then fold down the number you’re subtracting (e.g., “Start with 8 fingers up, fold down 3. How many fingers are left?”).
- Real-Life Objects: Model subtraction with real-life objects. For example, give students 10 coins, and then ask them to “spend” 4 coins by placing them aside. Ask, “How many coins are left after spending?” This can make subtraction more relatable.
- Number Line Jumping Back: Use a number line to demonstrate subtraction by “jumping back.” Start at a number (e.g., 7) and then show the students how to count backward (e.g., 3 jumps back). Ask them to identify the number they land on.
- Story Problems: Create simple story problems where students must subtract. For example: “You had 6 cupcakes, but you ate 2. How many cupcakes are left?” Have students act out the story using objects or drawings.
•Assessment: Review student work on the worksheets to ensure they understand the concept of subtraction, both with and without physical objects.
Tips for Teachers When Teaching This Topic
- Use Consistent Visuals: Repetition is key for special education students. Stick to similar visual aids throughout the lessons, such as counters or number lines, to build comfort and familiarity.
- Incorporate Hands-On Activities: Engage students by letting them physically manipulate objects when adding or subtracting. This tactile experience can enhance understanding, especially for kinesthetic learners.
- Provide Frequent Breaks: Short breaks can help students reset and refocus, especially those with shorter attention spans. Incorporate mini-movement breaks to keep energy levels up.
- Individualize Instruction: Tailor the worksheets to each student’s needs. For some, fewer problems on a page or larger fonts may be beneficial. For others, incorporating additional visual aids might help.
- Use Positive Reinforcement: Celebrate every small achievement. Completing one problem successfully is a big step for many students, and positive reinforcement can build confidence.
- Allow Peer Collaboration: Pair students with a buddy for some exercises. Collaborative learning allows students to help each other and can make the experience more engaging.